Home > INFO CENTER > NEWS>The Ultimate Guide to the Automatic Semi-Conductor Home Ice Cream Maker
The Ultimate Guide to the Automatic Semi-Conductor Home Ice Cream Maker
2026-03-02 11:25:31
Do you love ice cream? Do you dream of making your own flavors at home? Many people think it is hard. Old machines need long pre-freezing times. You have to plan ahead. But what if you could make fresh ice cream anytime you want? Now you can. The new automatic semi-conductor ice cream maker changes everything.
This guide explores the world of homemade frozen desserts. We will look at different styles of ice cream. We will also show you how a modern home ice cream maker can unlock your creativity in the kitchen.
Understanding Your New Ice Cream Maker Machine
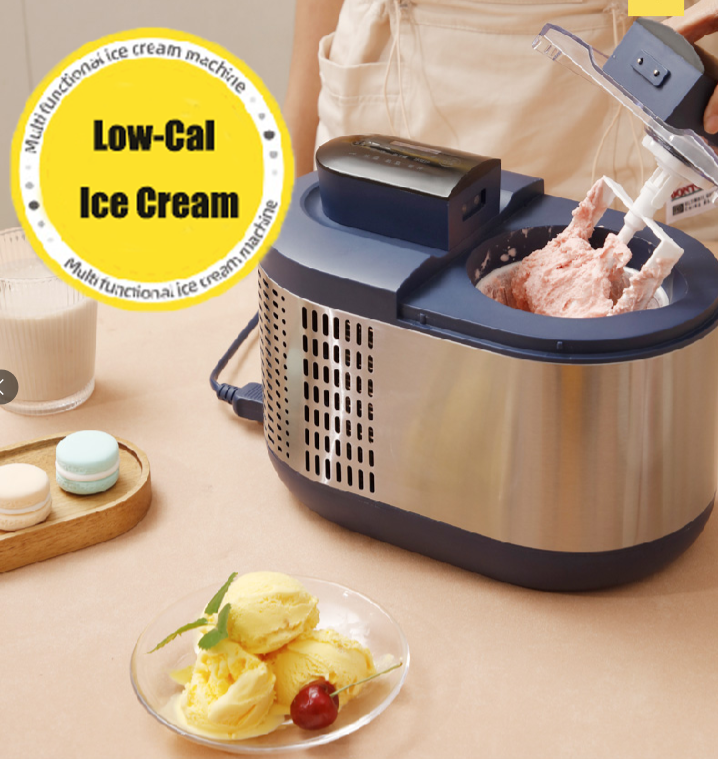
First, let us talk about the tool itself. This is not a traditional freezer bowl machine. It uses advanced semi-conductor technology. This tech allows it to both cool and heat. That means it can make ice cream without any pre-freezing. You simply plug it in, add your ingredients, and turn it on. Within about two hours, you have fresh, soft ice cream. It is that simple.
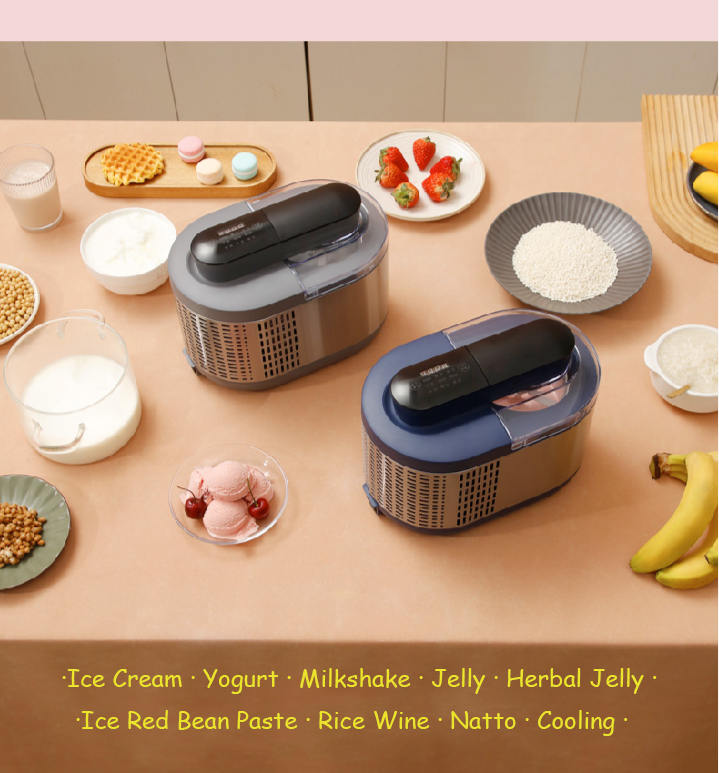
This ice cream maker machine is also very versatile. It can do more than just ice cream. Because of the semi-conductor heating, it can keep mixtures warm. You can use it to ferment foods like yogurt, rice wine, or natto. It also has a special mode for smoothie bowls and frozen slushies. Just pour in your favorite juice or drink, and it will turn it into a perfect icy treat. You can even make traditional desserts like herbal jelly or sweet red bean slush. With a 600ml capacity, it is perfect for families or small gatherings.
Three Delicious Paths: Creamy, Fruity, and Rich
When you own a soft ice cream maker, the possibilities are endless. You control the ingredients. You control the flavor. Generally, homemade ice cream falls into three main categories.
1. Creamy and Classic
This style is all about richness. It uses heavy cream, whole milk, and egg yolks. The result is smooth, dense, and luxurious. Think of classic French vanilla or chocolate custard. This style melts slowly on your tongue. It is perfect for pairing with warm brownies or pies. If you love a traditional gelato texture, this is your path.
2. Bright and Fruity
Do you prefer something lighter? Fruity ice creams and sorbets are refreshing. They use fruit purees, juices, and sometimes a little milk or cream. The goal is to highlight the fresh, natural taste of the fruit. Think of sharp lemon, sweet strawberry, or tangy mango. These treats cleanse your palate. They are perfect for a hot summer day. You can also make dairy-free versions easily. Just use coconut milk or almond milk as a base.
3. Indulgent and Complex
This category is for adventurous palates. It combines creamy and fruity elements. It might add crunchy mix-ins. Imagine a sweet cream base with swirls of salted caramel and chunks of brownie. Or a vanilla bean base with ribbons of tart raspberry jam and crushed pistachios. You can also experiment with spices like cinnamon, cardamom, or fresh mint. The best portable ice cream maker lets you experiment freely. You can create signature flavors you cannot buy in any store.
How to Use Your Portable Ice Cream Maker for Best Results
Using your new machine is easy, but a few tips will help you succeed every time.
Step 1: Chill Your Ingredients Even though the machine does not need pre-freezing, starting with cold ingredients helps. Keep your cream, milk, and fruit purees in the fridge until you are ready. This gives the machine a head start.
Step 2: Prepare Your Base Follow your chosen recipe. Mix your ingredients well in a separate bowl. Make sure any sugar is fully dissolved. If you are adding flavors like vanilla or cocoa, mix them in now. For fruit flavors, a smooth puree works best.
Step 3: Pour and Start Pour your prepared mixture into the machine bowl. Do not overfill. Select the correct mode. For most ice cream, the standard mode works great. For frozen drinks, use the smoothie setting.
Step 4: Watch the Magic Happen In about two hours, your dessert will be ready. The machine will churn and freeze it to a perfect soft-serve consistency. You can eat it immediately for a soft texture.
Step 5: Harden for Later (Optional) If you prefer a firmer, scoopable ice cream, transfer it to an airtight container. Put it in your regular freezer for another 2-3 hours.
Frequently Asked Questions
Q: Is this really a soft ice cream maker? A: Yes, it creates a soft, creamy texture ready to eat in about 2 hours. You can harden it in your freezer if you prefer a firmer scoop.
Q: Can I make dairy-free ice cream? A: Absolutely. Use coconut milk, almond milk, or oat milk as a base. The machine handles non-dairy liquids perfectly.
Q: How do I clean the machine? A: The bowl and removable parts are easy to clean with warm soapy water. Never immerse the main body in water. Just wipe it clean.
Conclusion: Start Your Ice Cream Adventure Today
Making ice cream at home is fun and rewarding. You get to choose the best ingredients. You can create flavors for every mood. From rich and creamy custards to bright and fruity sorbets, the possibilities are endless. With the innovative semi-conductor technology, it has never been easier. No more waiting overnight for a bowl to freeze. Just mix, pour, and enjoy.
Are you ready to become an ice cream artist? Discover the joy of fresh, homemade desserts. Your perfect scoop is just two hours away.
Check out our selection of high-quality home ice cream makers today!